Video recording embedding options
In this section we will understand how to include the video recording component in your Salesforce pages.
We have different options, either leveraging just a point & click interface, or getting our hands dirty writing few lines of code in Lightning. In either case, no Apex is involved ![]() - so fairly easy to package up and deploy across Salesforce Orgs.
- so fairly easy to package up and deploy across Salesforce Orgs.
At first, let's look at all of the options we have:
- If you are planning to embed video recording in a Salesforce Lightning page, you could consider to:
- Drag and drop the NativeVideo VideoRecord component, that you'll find once the managed package has been installed
- Create a quick action to load a Lightning Component that wraps the standard VideoRecord component
- Dynamically load the VideoRecord component, for instance in response to the running user clicking on a button in your page / component
- If you are still running your Org on the legacy Salesforce Classic, we have you covered too. NativeVideo can expose the recording capabilities as VisualForce component (look for "nativevideo:record"). You might find all info you need in this dedicated section here.
Let's focus on the first three options, the ones associated to the Salesforce Lightning interface.
1. Configure video recording without any code
As introduced in the first section of this wiki, NativeVideo offer two key components, one of which is the standard VideoRecord. The first option available to you is simply to drag and drop the VideoRecord Lightning component in your Lightning App or Community Builder, as detailed in section 2 of the "Recording and browsing one video per record", if necessary you can read this again here.
Please remember to fill in at least the required fields for this component to work, they vary according to which scenario you are configuring:
- One to one (1 video stored in a lookup field on a target record). Specify the following parameters:
- "Update Object Name" with the API name of the target object
- "Update Record ID" with the string "recordID", so that NativeVideo will dynamically replace the string with the Salesforce ID of the target record
- "Update Field" with the API name of the lookup field that hosts the reference to the video on the target object
- One to many (multiple videos stored in a junction object, all pointing to the same parent record). Assuming you are using the default junction object provided by the package, specify the following parameters:
- "Create Junction With Object" with the object API name of the parent record, for instance "Opportunity"
- "Create Junction Parent Field" with the API name of the field that hosts a reference to the parent record on the junction object, for instance "Opportunity__c"
- "Create Junction With Parent ID" with the string "recordID", so that NativeVideo will dynamically replace the string with the Salesforce ID of the target record
Save the page... and now the video recording component is embedded in your page. At first, it will ask you for the right to access your camera and microphone... and once granted, you'll see yourself on screen, ready to hit the Record button. That's it.
2. Video recording via a quick action
If having the video recording component always displayed on screen is not something you really want, a quick action might be a good alternative: we are now going to expose the same functionality in a popup that appears in the middle of the screen once the user has pressed a button. Again, pretty straightforward.
This approach has been fully detailed in section 3 of the "Recording and browsing one video per record" page, that you can find here.
Just to recap on this approach, the key steps are:
- Create a new Lightning Component, that will embed the standard VideoRecord component. The reason why we have to do this is because Salesforce don't allow us to pass attributes to a Lightning Component referenced in a Lightning Action... not yet at least
- Edit the Component, adding few lines to create the HTML container for the VideoRecord instance that we are going to dynamically initiate
- Edit the Controller, adding enough Javascript to create an instance of VideoRecord, specifying the same attributes described in the previous paragraph, according to which scenario needs to be configured. Also, note an extra couple of parameters:
- "aura:id" with the Aura identifier of the new component that is going to be created
- "videoApprovedOrigin" that has to be initialised with "https://" + window.location.host - This attribute is just a technicality, but please don't forget to specify it
- Navigate to the list of Buttons, Links & Actions and add a new action, that will invoke the component we have just defined
- Open the required page layout(s) and include the Lightning Action that has been just created
With these 5 simple steps you are now enabling your users to run video recording and interview simply by clicking on a button on the details page of your records.
3. Video recording embedded in a Component
If the approach just described in the second section is not enough for you, for instance because you are building a Lightning component with a very intuitive sequence of steps, you might want to read further. In this paragraph we will leverage some of the concepts already introduce, linking up a dynamically embedded VideoRecord instance, in response for instance to the user pressing a custom button.
Consider again the video interview scenario (here is the link, in case you've missed it), where we had the concept of Vacancy and Applications, whereby potential candidates were to record video interviews as part of the company's recruitment process. One way to actually implement this is to spin up a Salesforce Community, allowing candidates to access either via their own credentials or anonymously (and therefore not require a licence). They can then browse all company information such as mission, values and history, to then move to what the role is all about, for example this could be described by the hiring manager over a video... and then finally to record their video interview.
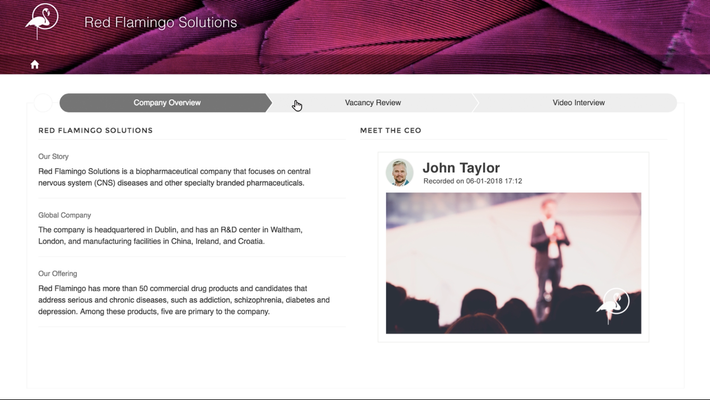
There are different ways to achieve this, but probably the best user experience will be offered by a custom Lightning component, that can really take your candidates by hand and guide them through all of the relevant steps. Once the candidate has logged into the Salesforce Community, a single page component will welcome him or her, with a description of the company and with a video from the CEO:
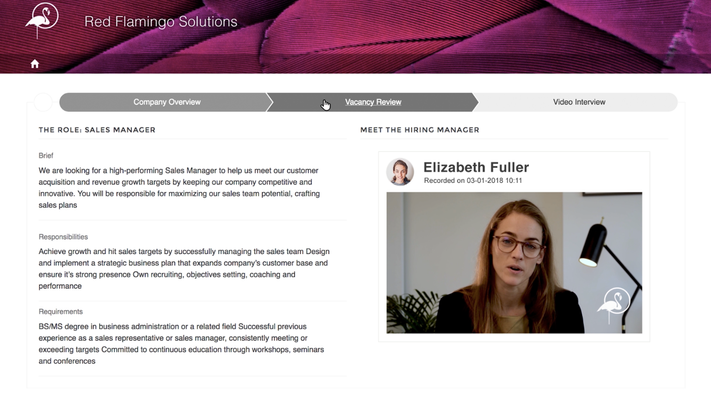
The candidate then clicks on the second tab, where more information is provided on the specific vacancy, again with a video of the hiring manager describing the ideal candidate and the overall opportunity:
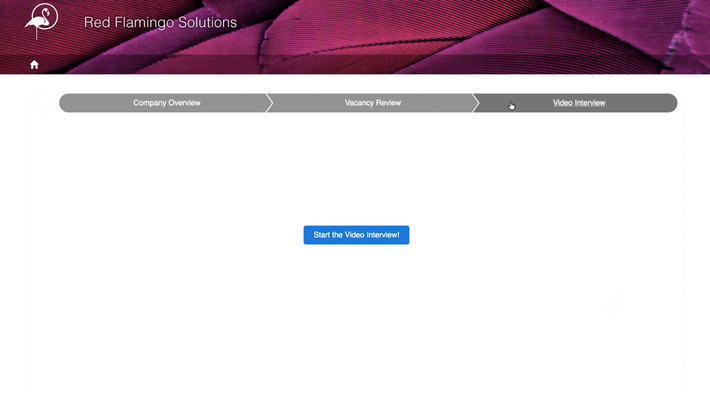
Finally the candidate can decide to record their video interview, moving to the third and final section of the component, where a button is displayed in the middle of the screen:
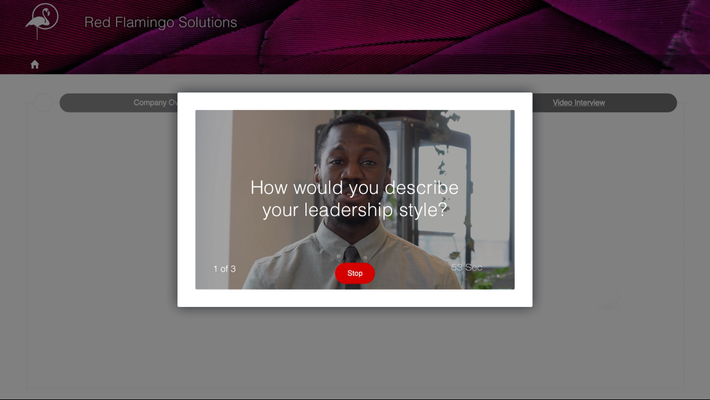
Once the button is pressed, a VideoRecord component is dynamically created and injected in an empty HTML DIV that acts as a container for it. The user will then be presented with an image of themself, ready to kick off the video interview:
From a technical standpoint, this approach is pretty identical to the one described in the previous paragraph, clearly with the exclusion of the Lightning Action. What needs to be done is to include the same code described in the Controller, where the VideoRecord standard component is dynamically initialised and injected in a host HTML element.
Conclusion & Next Steps
In this chapter we have discussed the most common options for offering recording capabilities with Salesforce Lightning. If you are now looking for a similar overview but for the browsing component, jump here. Otherwise, let's now discuss the specific use case where you want to run video recording with un-authenticated users, here.


